I Tried Facial Cupping At Home & Here’s What I Found
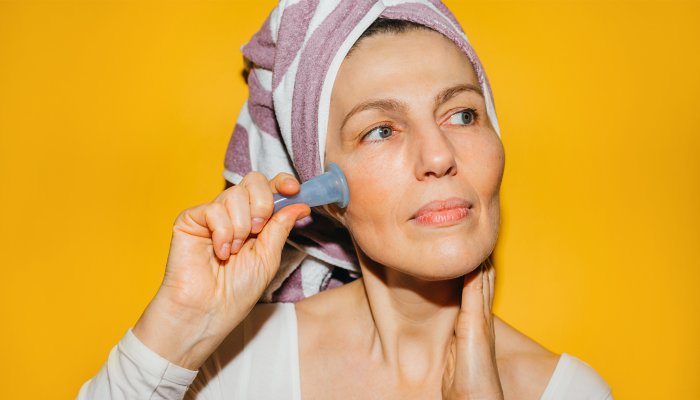
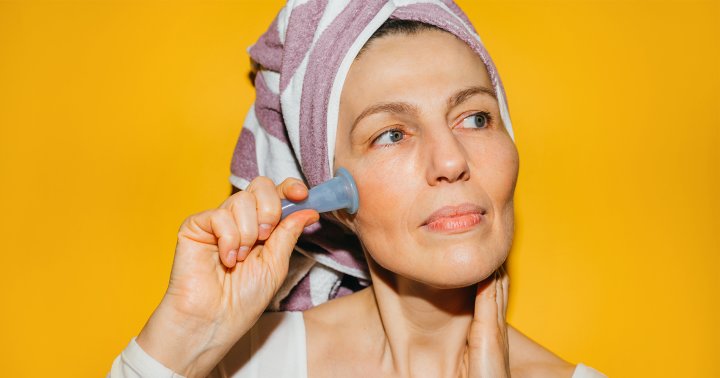
And then, I go in with the cups. Wildling’s two cups are made 100% food grade silicone, one larger (for the neck, cheekbones, and forehead) and one about as thin as a marker (for delicate areas like the eyes and lips, or even for targeting individual lines). If you’ve never used a cup before, I recommend practicing on your forearm to nail down the technique—even though it’s quite simple. Slightly pinch the middle of the cone, and then place it on the skin before releasing: You’ll feel the skin being pulled into the cup. From here, there are two main movements. The first is that you can quickly go back to re-pinch the cup and release the skin. (Then do this a few more times in the same area.) The second is that you grab the cup, and slowly drag it across the skin until it naturally releases on its own.
On the body, the cups are placed on the body and not moved—a still process that is about release. The face, however, is more fluid, and is about circulation and flow. There’s no perfect facial cupping process that everyone must follow, but for beginners, a simple routine acts as a good foundation. And as you get used to the process, you can make adjustments and tweaks that feel good to you.
Start at the base of the neck, just above the collarbone, use the suction-and-release technique. This, experts note, can help kick-start lymphatic drainage and circulation. Do this several times on both sides of the neck. Then repeat this action just under the ear, right next to the jawbone on both slides.
Once you’ve done this (it helps open the circulation in the face and neck), you can move onto the gliding technique. If you’re one to guasha or facial roll, you’ll see a lot of similarities in the movements. For example, you want to start to lift up and out as you drag the cup across the skin—you also want to make sure you’re keeping your other hand gently resting at the beginning point, as to limit aggressive tugging.
I start at my chin and sweep across the jawline, slowly moving up to my cheekbones with each passing stroke. Then I skip over the eyes (I come back to them later with the smaller cup), and go to my brows and forehead. I start with the cup at the center of my brows and move out just above the brow bone on both sides. Then I work my forehead by pulling the cup into my hairline.
Switching cups, I then tend to my eye area. The skin around the eyes is very thin, and requires extra care. You can use either technique when working here, but if you do glide the cup across the skin, do so extra lightly. You’ll find that the smaller cup doesn’t allow for much suction, which is the exact purpose for using it around the eyes: I cannot stress enough you should be cautious here.
So often I get asked about how long you should do this for, and my go-to answer is whatever feels right! You certainly don’t want to overdo it, but you shouldn’t feel that there’s a singular, perfect routine that works for everyone. The best thing you can do is learn the basics, what you shouldn’t do (don’t be too hard), and the rest is, quite literally, in your hands.
The kit comes with a cloud-like cloth made from viscose bamboo and certified organic cotton, which I use to pat off excess oil post cupping. There’s also a small round 1005 white jade stone, perfect for depuffing eyes. I’ve been keeping mine in the freezer, and using it in the morning when my bags are swollen. The cooled rounded end simply glides over my lids and under eyes, making me look and feel more awake in the process.
This article was originally published by mindbodygreen.com. Read the original article here.