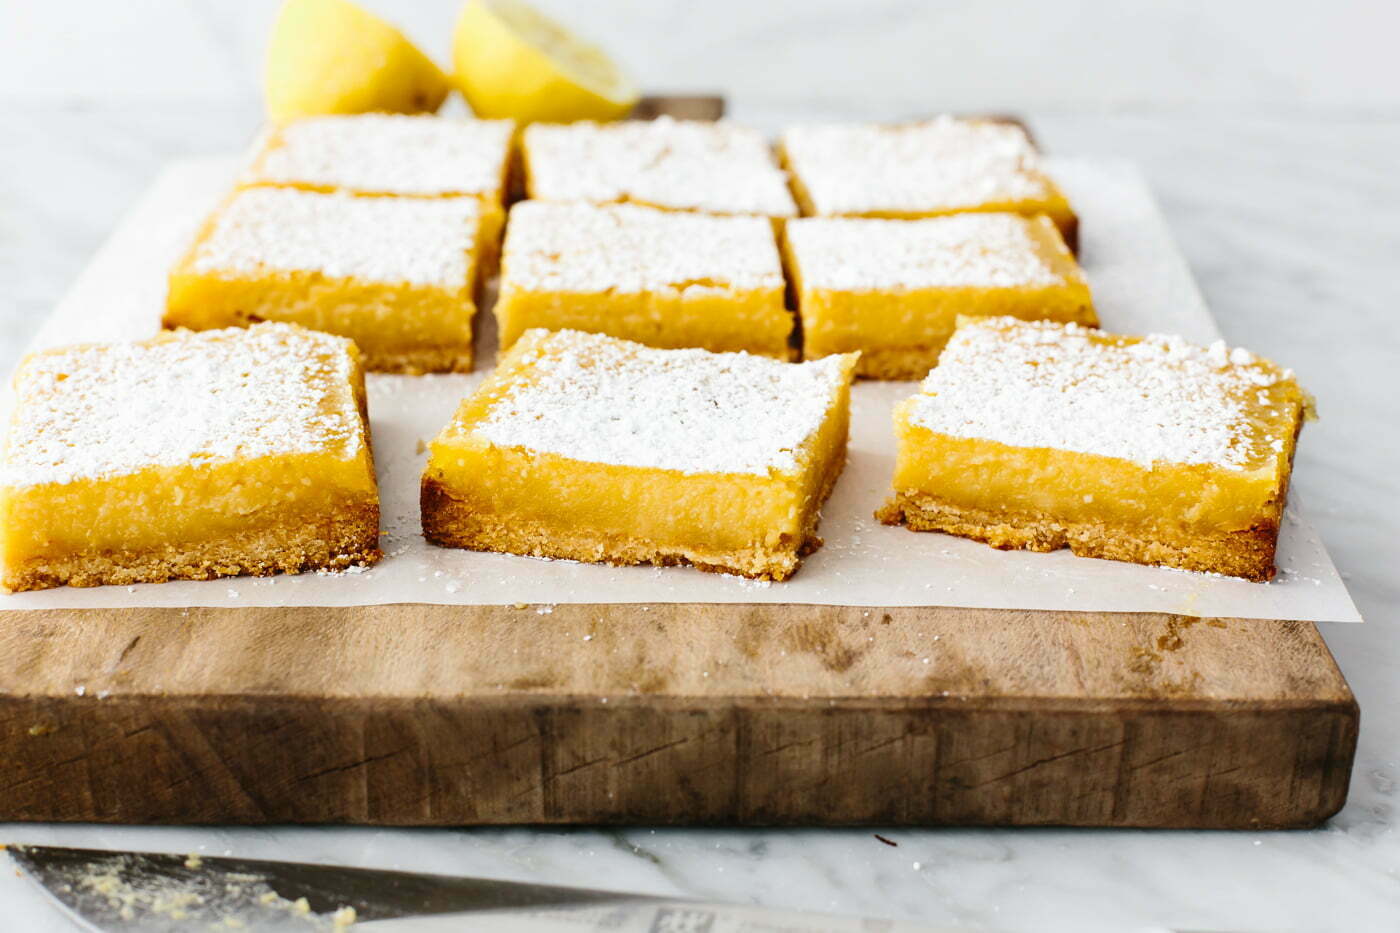
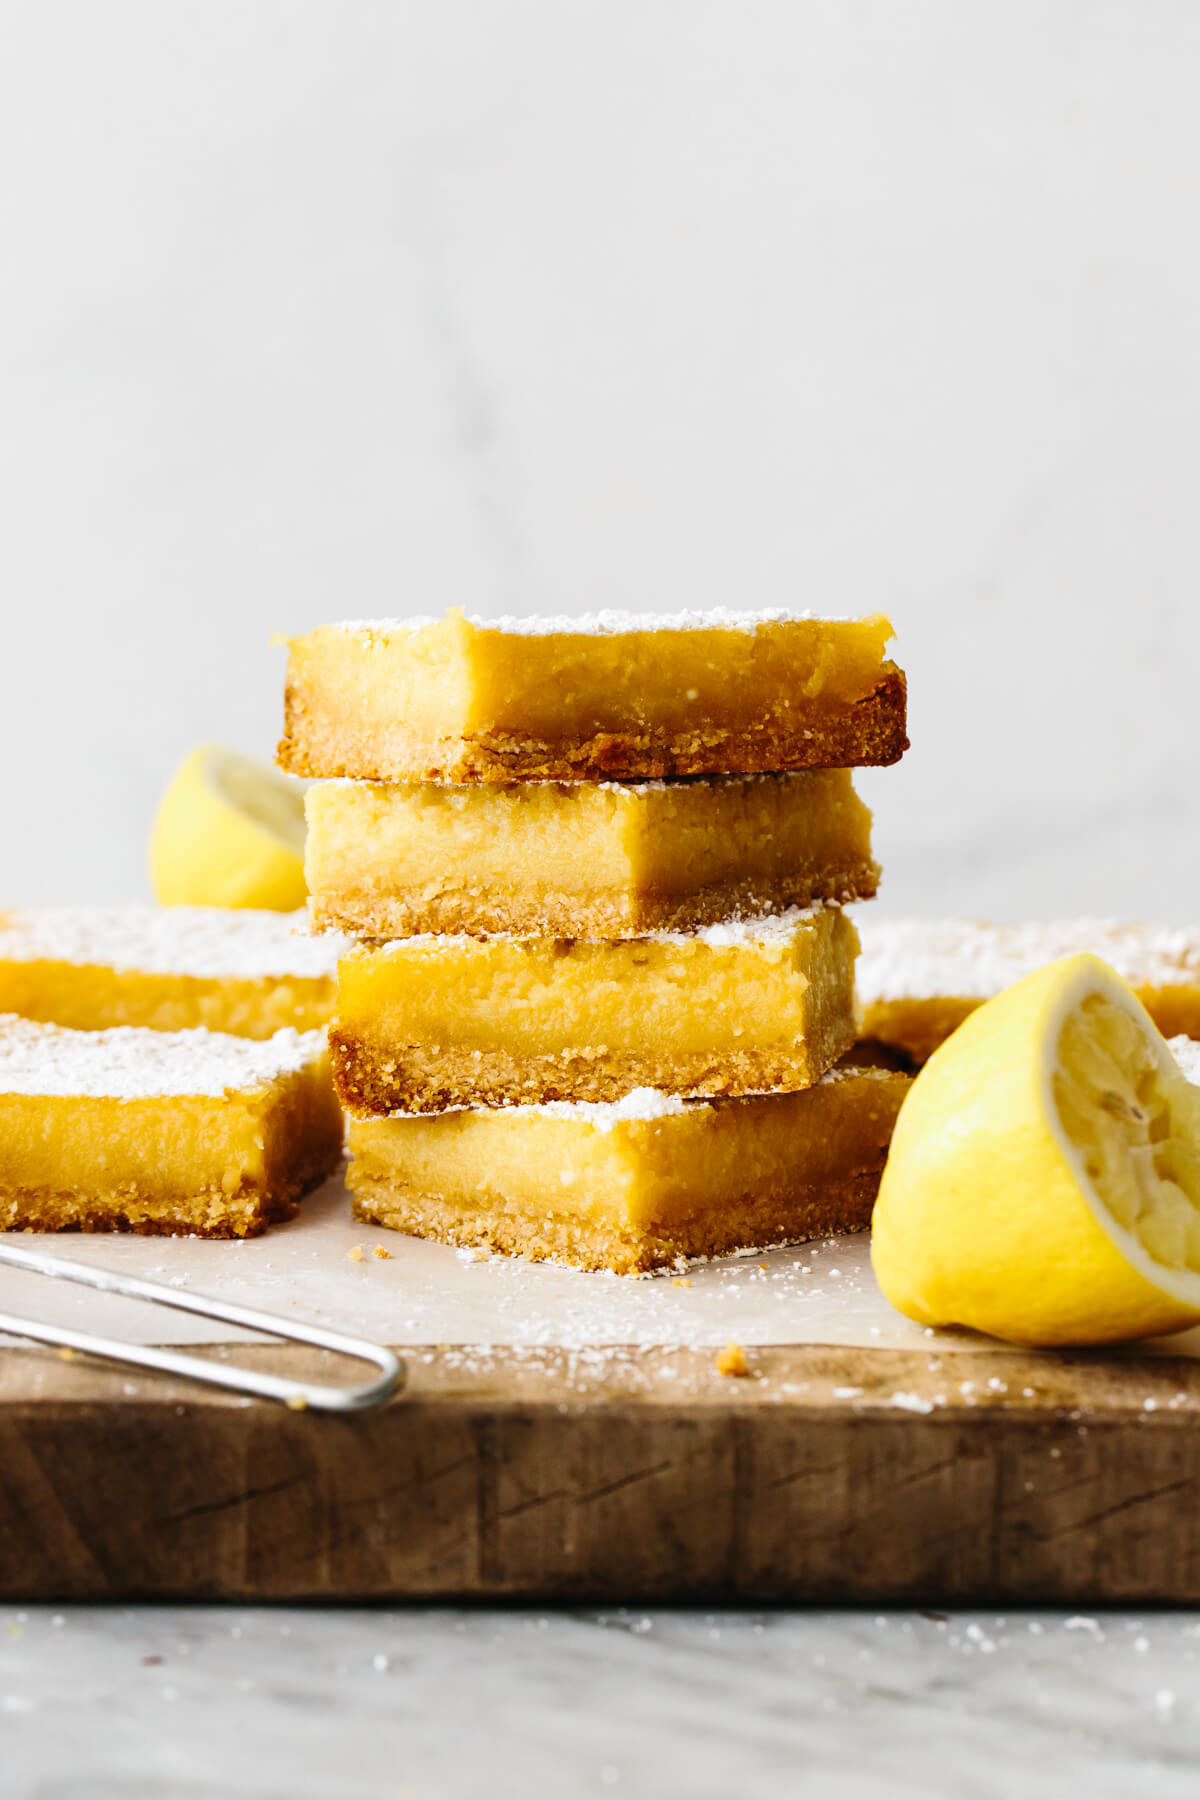
Gluten-Free Lemon Bars
These lemon bars have a gluten-free shortbread-like crust and a bright, luscious filling that’s the perfect balance of sweet and tangy!

When spring is in the air, you must make these fresh lemon bars. In fact, I’d say it’s almost a requirement to acknowledge sunnier days with these slightly sweet, slightly tangy lemon bars.
Yes, they’re gluten-free, dairy-free, and paleo friendly, but I can assure you that if you don’t mention that little detail to anyone, they’ll never know. Because these healthier lemon bars taste just as good as their classic counterpart!

Lemon Bar Ingredients
This recipe uses my triumvirate of flours (my “go-to’s” for all baked goods), along with a little sweetener and fresh lemons.
- Almond Flour: This makes up the bulk of the crust and creates that almond shortbread-like flavor.
- Coconut Flour: Coconut flour keeps the crust firm and structured and prevents it from going soggy.
- Tapioca Flour: This super-fine flour is the best for the filling as it’s not gritty and helps it firm up.
- Honey or Maple Syrup: You can use either sweetener here, it’s up to you!
- Lemon Juice and Zest: Fresh lemons are a requirement for this recipe. DO NOT use jarred lemon juice, it will taste blah. Trust me.
- Eggs: Just a few large eggs help to create the lemon custard filling.
- Vanilla Extract: Just a smidge helps to sweeten the crust.
Find the printable recipe with measurements below.

How to Make Gluten-Free Lemon Bars
This recipe is really two parts, the crust and the filling. It’s quite easy to make, but there is some nuance to ensure success. So make sure to read all the tips below as well!
Make the crust. Whisk together the coconut oil, honey, and vanilla to combine those together. Then add the almond flour, coconut flour, and salt, and dig in with your hands to mix it all together until you have a crumbly dough.

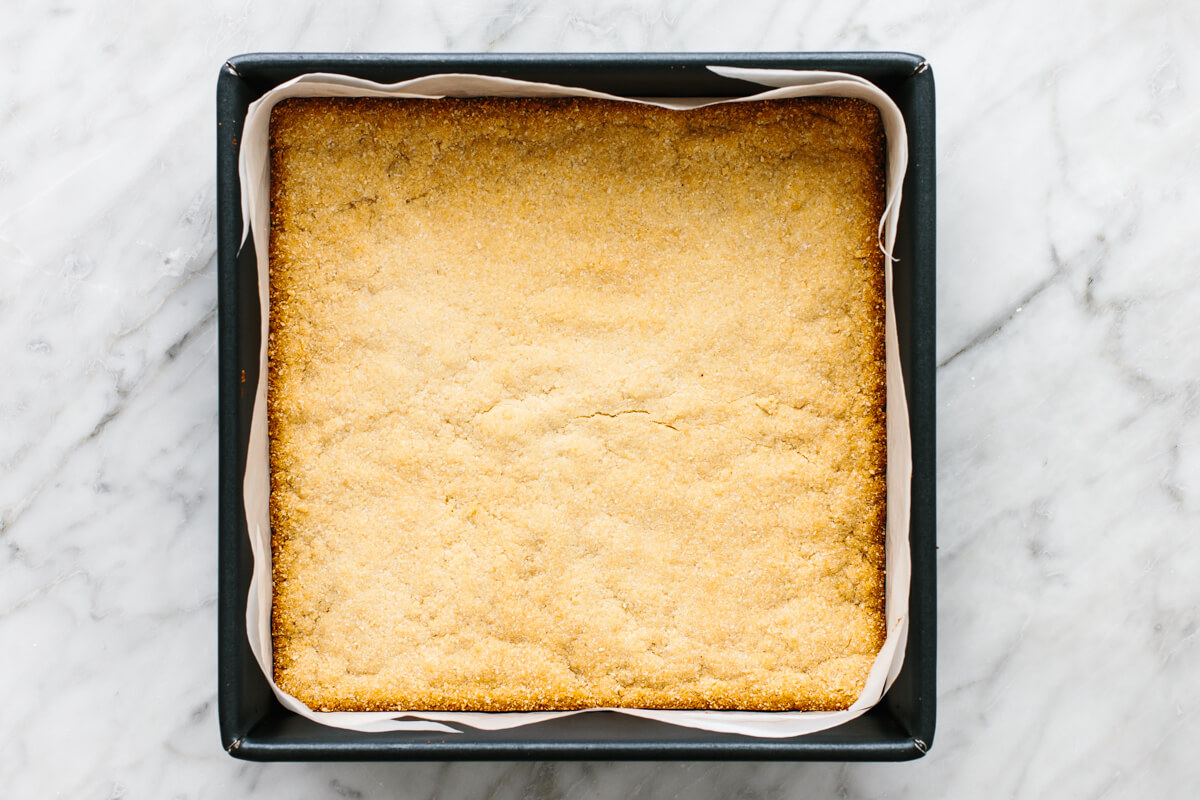
Press the crust into the pan. Pour the dough into the parchment-lined pan and then use your hands to press it firmly on the bottom and all the way to the edges and corners.

Pre-bake the crust. Preheat your oven to 350F and prebake the crust for about 15 minutes, or until it’s lightly golden around the edges.
Make the filling. The order of mixing is really important here, to not get white bits that look like scrambled eggs on top. Start by whisking together the eggs and honey, until the eggs are completely smooth. Then add the lemon juice and zest, whisk again. And lastly add the tapioca flour and whisk again until there’s no flour clumps.

Pour the filling into the pan. Once the crust has pre-baked, remove it from the oven and while it’s hot, pour the filling on top. Then place it bake in the oven and cook for 20-25 minutes, until cooked through.

Let them cool! Don’t be overly anxious and try to cut into the bars too soon. Once you remove them from the oven, let them cool on the counter for one hour. Then chill them in the fridge for another 2 hours.

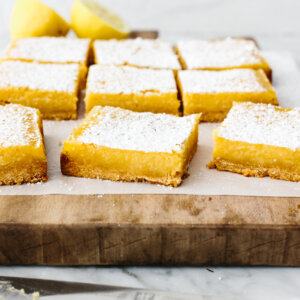
Slice and garnish. Slice the bars and if you’d like, add a little dusting of powdered sugar. This is completely optional, but it really does make the lemon bars look pretty!

Must Read Lemon Bar Tips!
Truth be told, I made this recipe three times before I was happy with it. During my test batches I ran into issues with the crust being too thin and too soft, and had issues with the filling being too gritty or not firming up. Yes, you want a soft filling, but not so soft that it’s sorta mushy. I also played around with the level of sweetness and tartness. So let me share a few tips!
- Flours: Honestly, I don’t recommend substitutions here. Each flour serves an important purpose for the best texture. I did try coconut flour in the filling and I didn’t love the texture as much as the tapioca flour.
- Pans: Glass, metal, and ceramic pans all bake a bit differently. Glass pans take longer to heat up, but stay hotter and can burn faster. I used a metal baking pan for this recipe. If you’re using glass you may need to reduce the temperature a little and bake longer.
- Don’t Under-Bake: You don’t want the filling too jiggly or soft when you remove it from the oven. If you see other recipes which say the filling should be jiggly, remember that they’re likely using regular flour in the filling. We’re not. So it should be cooked through to the middle, with a firm Jell-O-like texture. Otherwise, the bars will be too soft once cooled.
- Don’t Over-Bake: Alternatively, you don’t want to over bake as you might end up with a weird texture of slightly scrambled eggs in the filling instead of a smooth lemon curd. All ovens cook slightly differently, so just keep an eye on yours. If you bake between 20-25 minutes, you should be golden! (I bake these to 25 minutes in my oven).
- Crust Popping Up: Your crust may poof up a little as it’s pre-baking. That’s fine. Just press it down again as soon as you remove it from the oven, before pouring the filling on top. You don’t want to prick the crust with holes, otherwise your filling may seep through.
- Sweetness Level: This is definitely a tart, zingy recipe. You can always add a couple tablespoons of more sweetener if you’d like. Alternatively, you can reduce the lemon zest if it’s just too lemony for you.
- Lemon Varieties: I’m using regular lemons, which are quite strong, but if you can find Meyer lemons they will have a naturally softer, less tart flavor. If you use Meyer lemons, I recommend reducing the sweetener by a couple tablespoons.
- Resting Time: When you remove the lemon bars from the oven, let them cool on the counter for an hour. Then, place them in the fridge to another 2 hours. Don’t transfer them from the oven straight to the fridge and try to speed things up. Also, some cracks may occur on top as the lemon bars cool, that’s normal. But if you slice them too early, they’ll likely be too soft.
- Want a buttery crust? You can sub butter or ghee for the coconut oil.
How to Store Them
If you and/or your family and friends don’t devour all these bars in one sitting (which often happens), you can store them to enjoy again in the future.
- In the fridge: the lemon bars will stay good for up to one week in the fridge in a sealed container. If you stack them, just be sure to place parchment paper in-between.
- In the freezer: You can freeze these for up to 3 months. Just defrost them in the fridge the day before you’d like to enjoy them.

More Sweet Lemon Recipes
If you’ve got an abundance of lemons, give these other sweet treats a try!
Lemon Bars Recipe Video
Want to see how I make this recipe step-by-step. Give the video below a watch!
If you make these lemon bars, let me know how it turned out! I’d love to hear what you think in the comments below.
Lemon Bars (Gluten-Free & Dairy-Free)
These lemon bars have a gluten-free shortbread-like crust and a bright, luscious filling that’s the perfect balance of sweet and tangy!
-
Preheat the oven to 350F/177C. To make the crust, whisk together the coconut oil, honey, and vanilla extract in a large bowl. Add the almond flour, coconut flour, and salt. Stir together or use your hands to mix everything together, until you have a crumbly dough.
-
Pour the dough into an 8×8-inch baking pan lined with parchment paper. Use your hands to press the dough flat in the pan. Make sure it’s pressed down very firmly.
-
Bake the base crust for 13-15 minutes in the oven, or until lightly golden on top and slightly darker around the edges, then remove.
-
The order of whisking the filling is important. Whisk the eggs and honey together in a bowl until smooth. Add the lemon juice and lemon zest and whisk again. Then add the tapioca flour and whisk again, until smooth, and no flour clumps remain.
-
Bake the lemon bars for 20-25 minutes, or until the center of the filling is set.
-
Let the pan cool on the counter for an hour, then transfer to the fridge and let cool another 2 hours before serving, to firm up. Slice into bars and serve plain, or with a dusting of powdered sugar.
Calories: 349kcal, Carbohydrates: 40g, Protein: 8g, Fat: 20g, Saturated Fat: 9g, Trans Fat: 1g, Cholesterol: 73mg, Sodium: 108mg, Potassium: 60mg, Fiber: 4g, Sugar: 30g, Vitamin A: 106IU, Vitamin C: 5mg, Calcium: 53mg, Iron: 1mg
©Downshiftology. Content and photographs are copyright protected. Sharing of this recipe is both encouraged and appreciated. Copying and/or pasting full recipes to any social media is strictly prohibited.